2.1.1 Eureka
准备工作
- 在生产环境下,我们往往会为每个应用配置一个host,使用host而非IP进行访问。为了更加贴近生产环境,以及后文Docker章节的讲解,我们首先配置一下Host
127.0.0.1 discovery
代码示例
- 创建一个Maven工程(microservice-discovery-eureka),并在pom.xml中加入如下内容:
<?xml version="1.0" encoding="UTF-8"?>
<project xmlns="http://maven.apache.org/POM/4.0.0" xmlns:xsi="http://www.w3.org/2001/XMLSchema-instance"
  xsi:schemaLocation="http://maven.apache.org/POM/4.0.0 http://maven.apache.org/xsd/maven-4.0.0.xsd">
  <modelVersion>4.0.0</modelVersion>

  <artifactId>microservice-discovery-eureka</artifactId>
  <packaging>jar</packaging>

  <parent>
    <groupId>com.itmuch.cloud</groupId>
    <artifactId>spring-cloud-microservice-study</artifactId>
    <version>0.0.1-SNAPSHOT</version>
  </parent>

  <dependencies>
    <dependency>
      <groupId>org.springframework.cloud</groupId>
      <artifactId>spring-cloud-starter-eureka-server</artifactId>
    </dependency>
  </dependencies>
</project>
- 编写Spring Boot启动程序:通过@EnableEurekaServer申明一个注册中心:
/**
 * 使用Eureka做服务发现。
 * @author eacdy
 */
@SpringBootApplication
@EnableEurekaServer
public class EurekaApplication {
  public static void main(String[] args) {
    SpringApplication.run(EurekaApplication.class, args);
  }
}
- 在默认情况下,Eureka会将自己也作为客户端尝试注册,所以在单机模式下,我们需要禁止该行为,只需要在application.yml中如下配置:
server:
  port: 8761                    # 指定该Eureka实例的端口

eureka:
  instance:
    hostname: discovery         # 指定该Eureka实例的主机名
  client:
    registerWithEureka: false
    fetchRegistry: false
    serviceUrl:
      defaultZone: http://${eureka.instance.hostname}:${server.port}/eureka/

# 参考文档:http://projects.spring.io/spring-cloud/docs/1.0.3/spring-cloud.html#_standalone_mode
# 参考文档:http://my.oschina.net/buwei/blog/618756
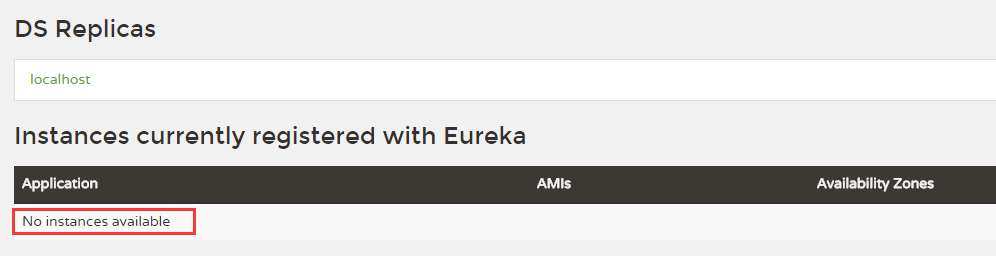
- 启动工程后,访问:http://discovery:8761/ ,如下图。我们会发现此时还没有服务注册到Eureka上面。
代码地址(任选其一)
http://git.oschina.net/itmuch/spring-cloud-study/tree/master/microservice-discovery-eureka https://github.com/eacdy/spring-cloud-study/tree/master/microservice-discovery-eureka